Fork
A fork is a copy of a repository that you manage. Forking is a way of copying a project's repository and using it as a basis for your own project. Forks will allow developers to experiment with changes without affecting the original project. You also can fetch updates from or submit changes to the original repository with pull requests.
Forking a repository is similar to copying a repository, with two major differences:
- You can use a pull request to suggest changes from your user-owned fork to the original repository, also known as the upstream repository.
- You can bring changes from the upstream repository to your local fork by synchronizing your fork with the upstream repository.
Forking a Repository
Step 1: Enable Forking
Forking a repository on Gitopia is disabled by default. Navigate to your repository’s settings page and click on Allow Forking to enable forks.
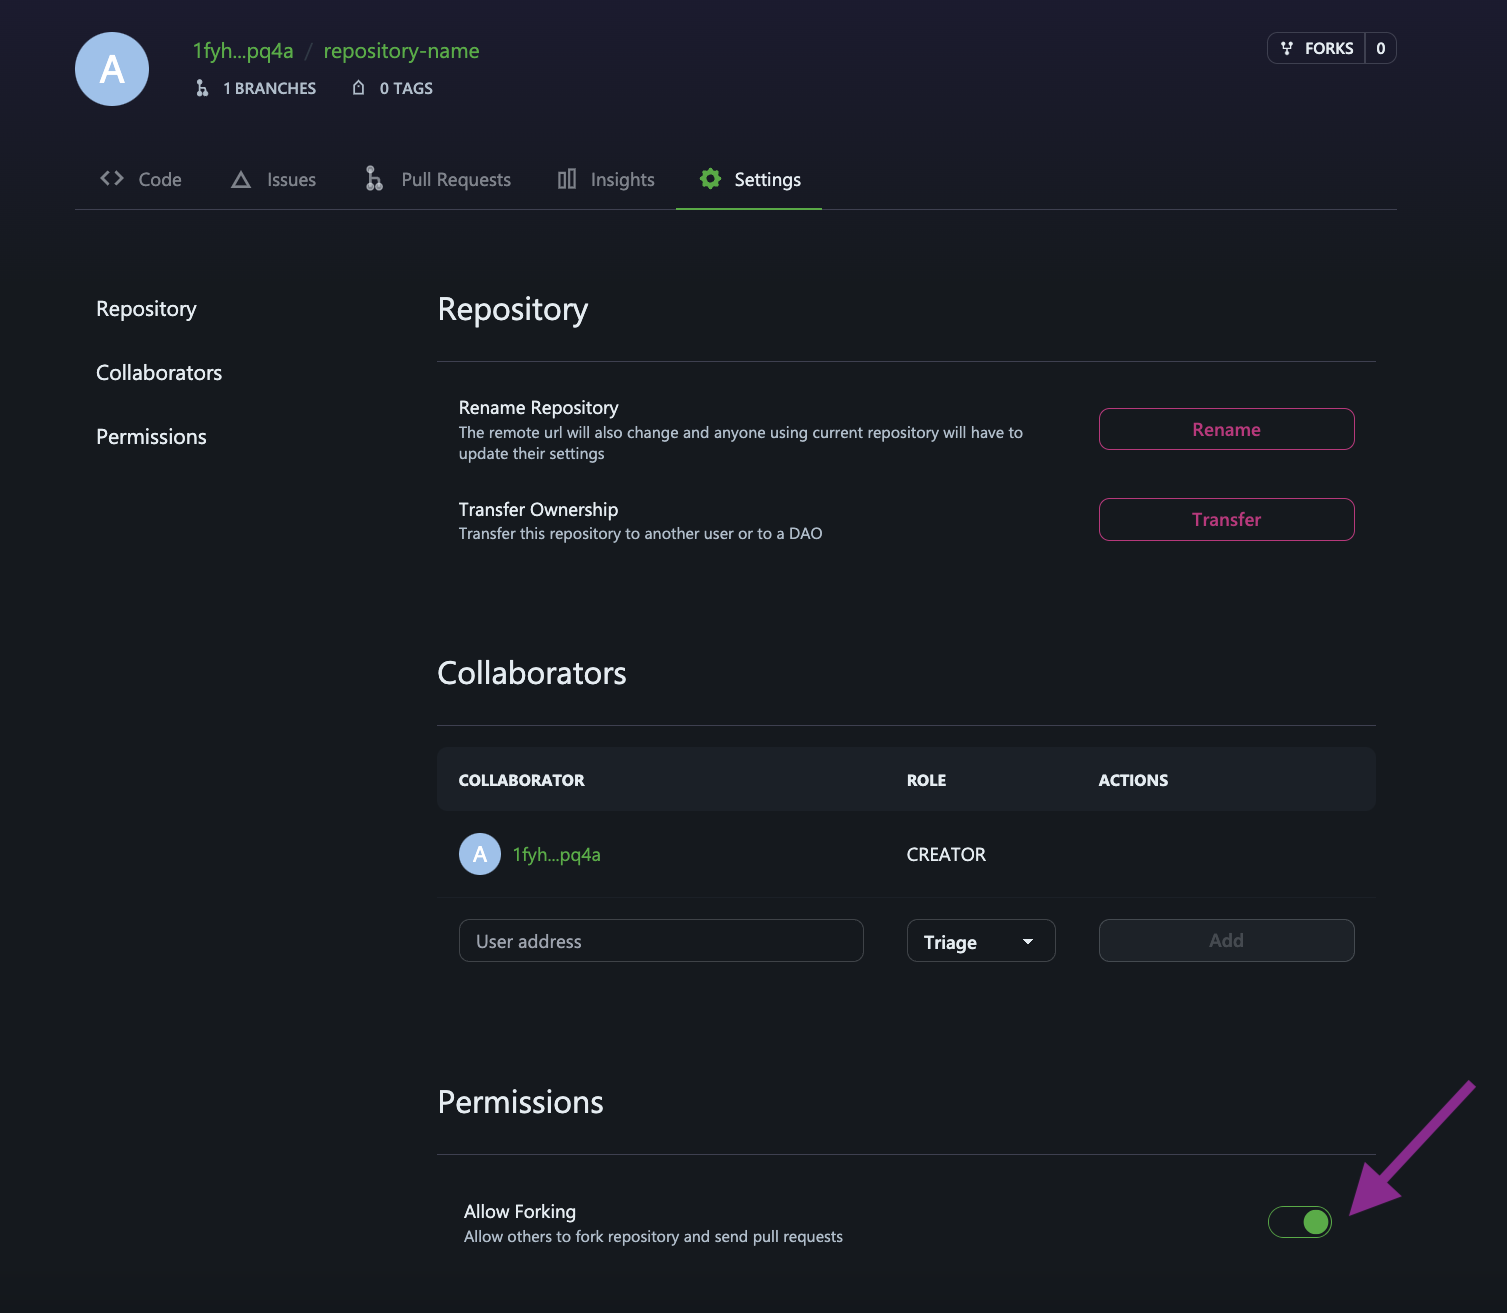
If Forking is not allowed on a repository, you will get a warning "Forking is disabled on this repository, please contact the owner to allow forking."
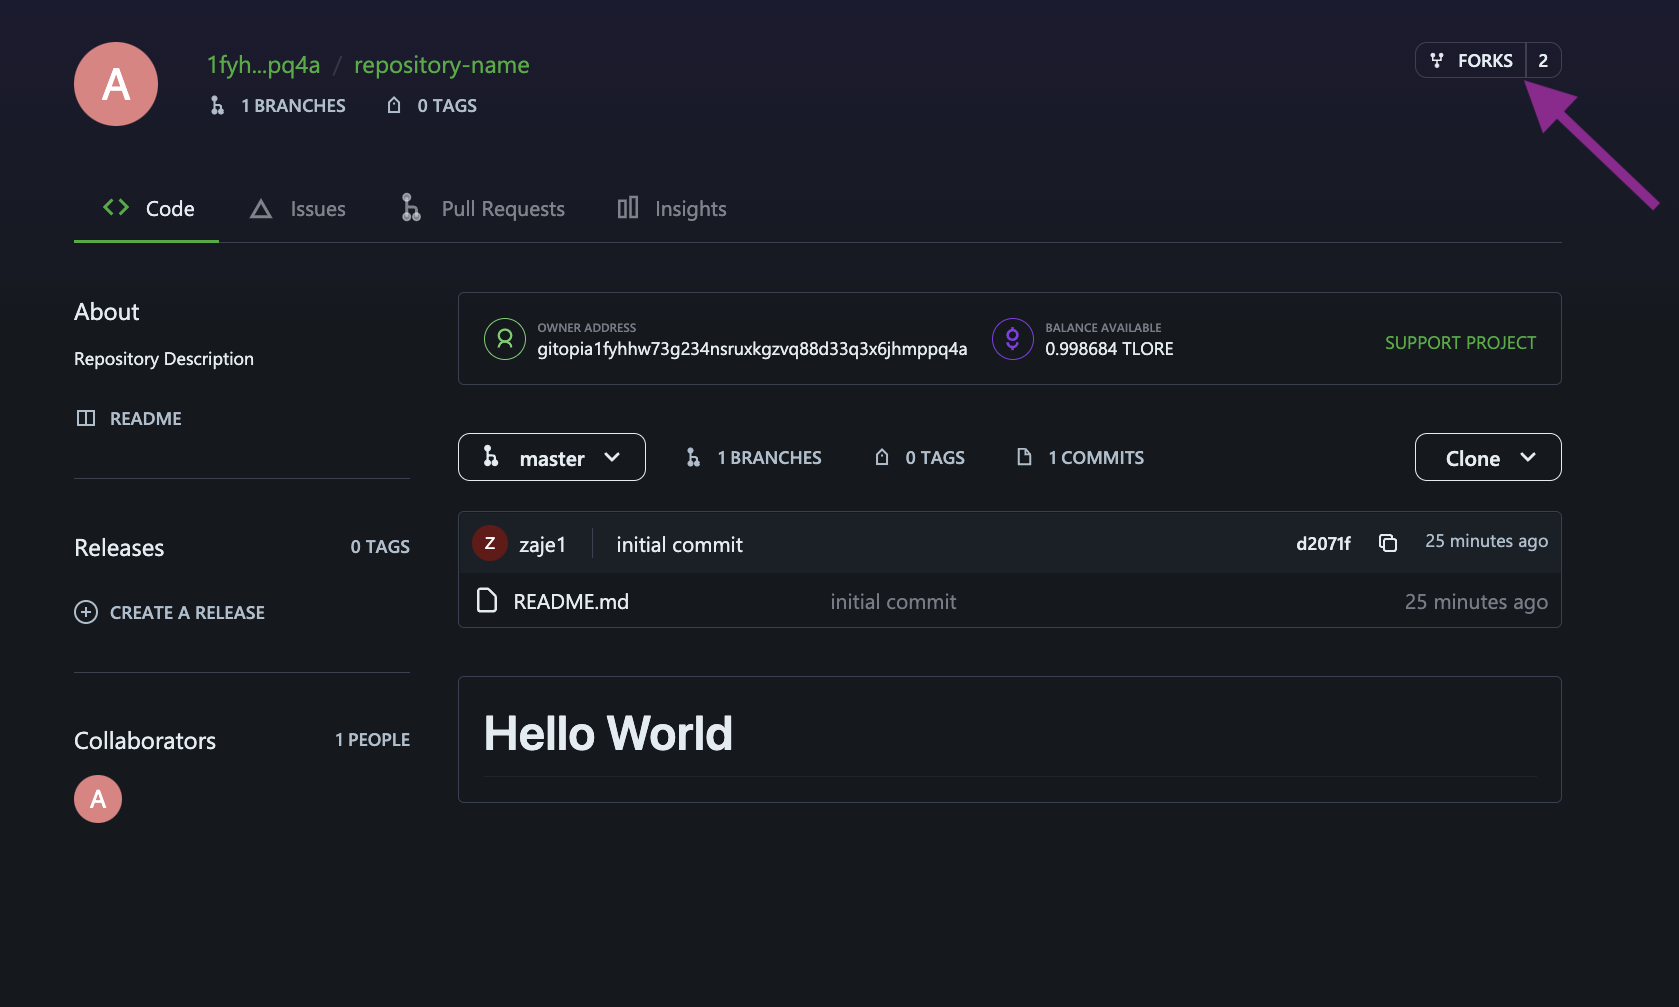
Step 2: Click on "Forks"
To create a fork of a repository, first navigate to the repository you want to fork and click on Forks in the top-right corner of the page.
Step 3: Grant Access
You will first be prompted to give forking access to the Gitopia data server. Click on Grant Access.
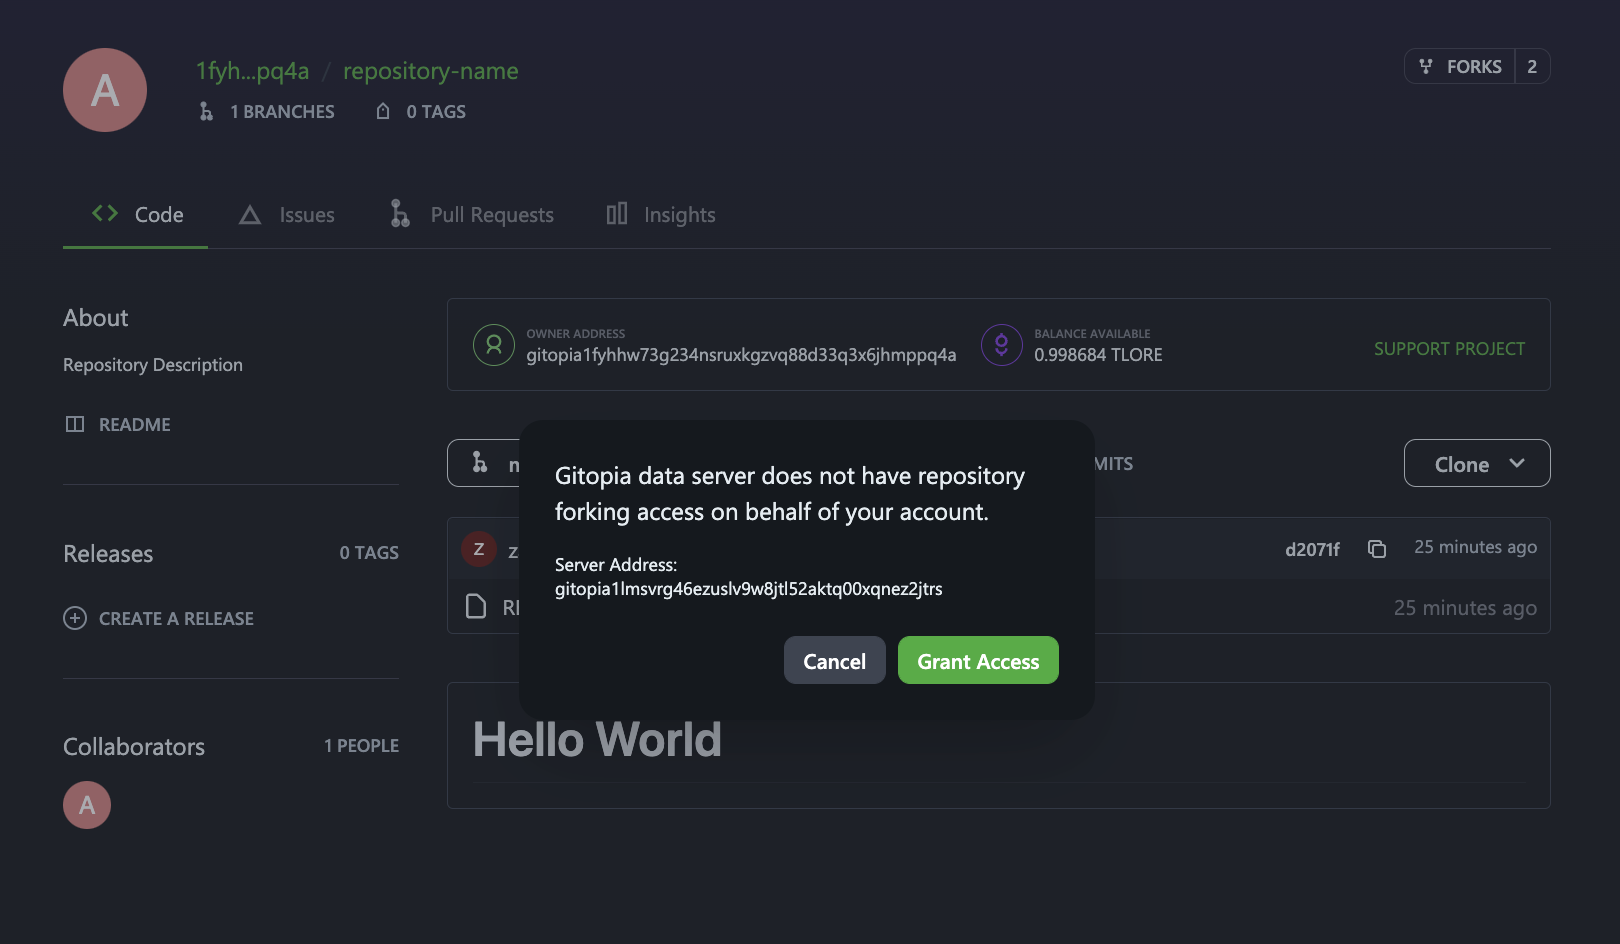
This prompt will show up only once for every user. This authorization is required to keep the state of gitopia blockchain and git server consistent. Only after successful fork or merge, git server broadcasts the relevant transaction on behalf of the user. This authorization is restricted to fork and merge PR transactions.
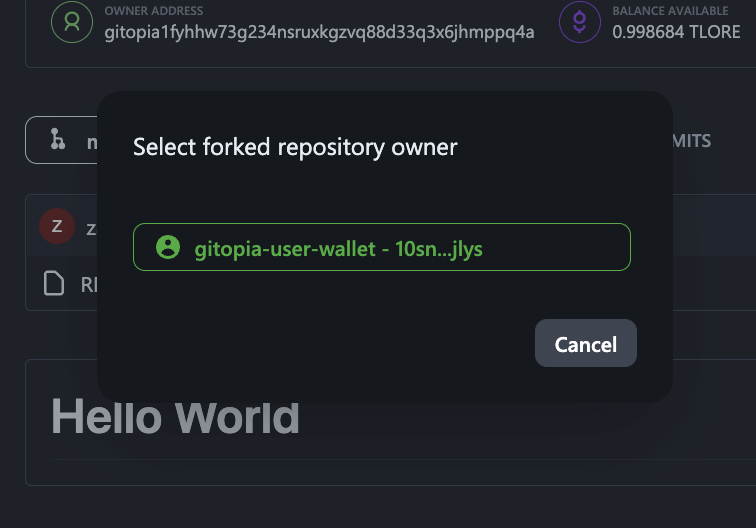
Step 4: Select the Owner
Next, you will be prompted to select the owner of the forked repository. You can choose your wallet address or select the address of a DAO you are a member of in order to add the forked repository to the DAO.
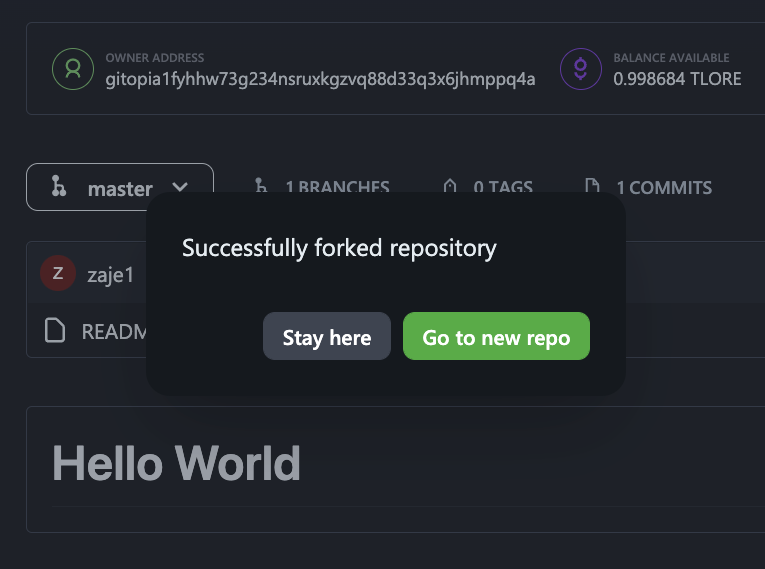
Step 5: Go to the new repo
On the next prompt, clicking on Go to the new repo will take you to your forked repository.
Step 6: Clone the Repository
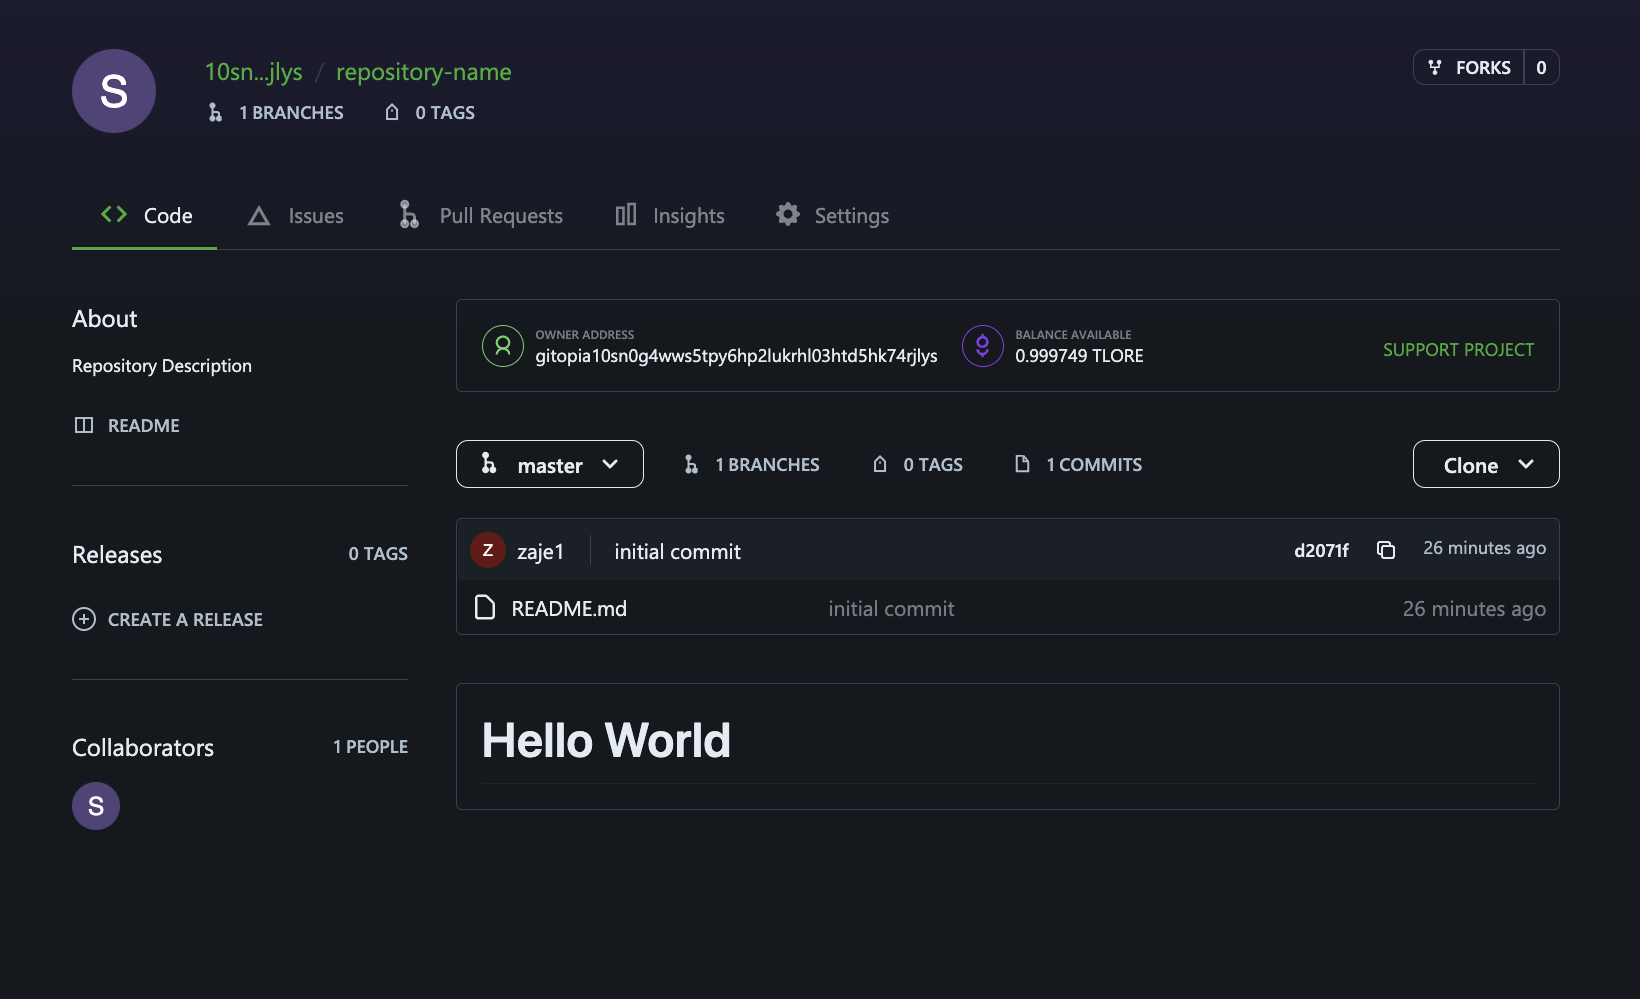
You just created your very first forked copy of a repository. Clone the repository on your computer and you can use it to start working on your own project. Or you can contribute to the original project by submitting a pull request.
Cloning your Forked Repository
Right now, you have a fork of the repository-name sample repository, but you don't have the files in that repository locally on your computer. So you now have to create a clone of the forked repository on your computer.
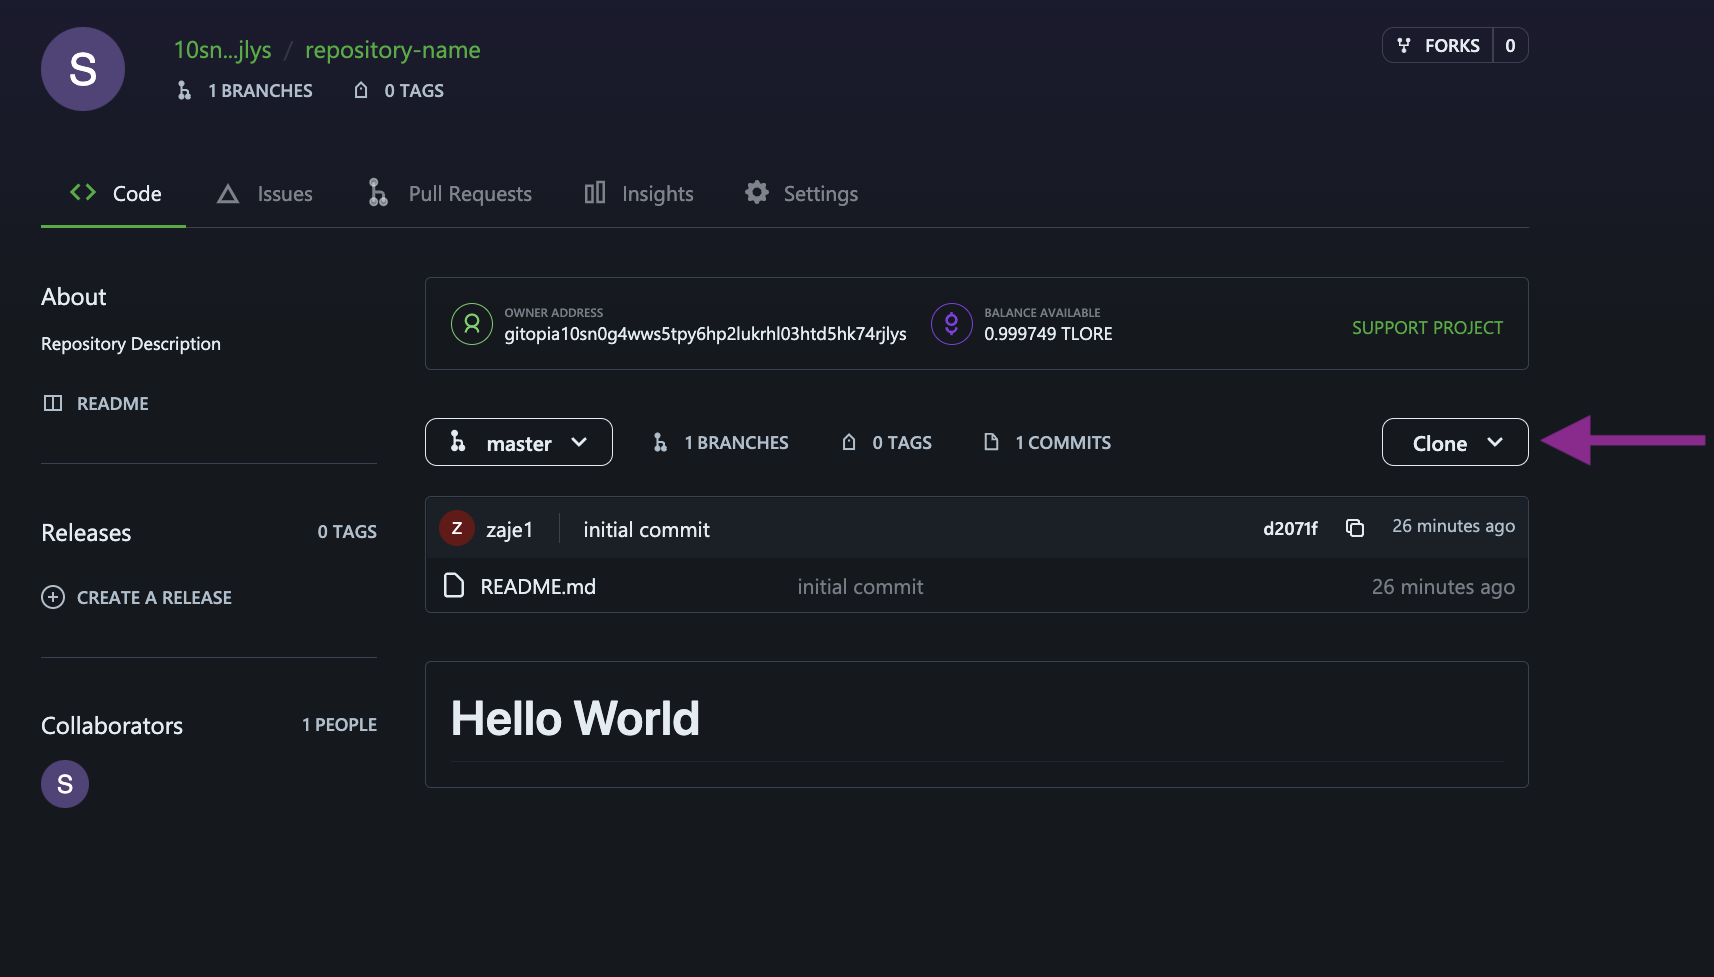
Step 1: Navigate to the Forked Repository
To clone the repository, navigate to your copy of the forked repository and click on the Clone button.
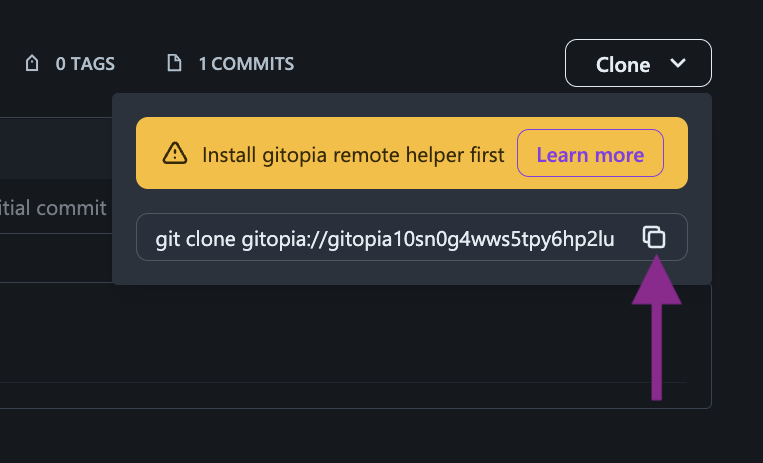
Step 2: Copy the code snippet
Copy the code snippet on the resulting pop-up by clicking on the symbol as shown below.
Step 3: Run the Code
Now, open Terminal on your computer.
Change the current working directory to the location where you want the cloned directory.
Now paste the code that you copied earlier.
git clone gitopia://gitopia102xfeav8m6758q4q0zdfnzj4yqtmxr7ee5reds/repository-name
- Press Enter. Your local clone will be created.
git clone gitopia://gitopia102xfeav8m6758q4q0zdfnzj4yqtmxr7ee5reds/repository-name
Cloning into 'repository-name'...
Done
Step 4: Finish
Congratulations, you have now forked a repository and practiced cloning your fork.
Next steps
You can make any changes to the fork, including:
- Creating branches: Branches let you build new features or test out ideas without wrecking your main project.
- Opening pull requests: If you want to contribute back to the original repository, you can send a request to the original author to pull your fork into their repository by submitting a pull request.