Creating Your First DAO
Learn how to create and configure a Decentralized Autonomous Organization (DAO) on Gitopia. A DAO enables community-driven decision-making for your open-source projects.
Before You Start
You'll need:
- A Gitopia account with a connected wallet
- Basic understanding of DAOs
- A clear plan for your DAO's purpose
Creating Your DAO
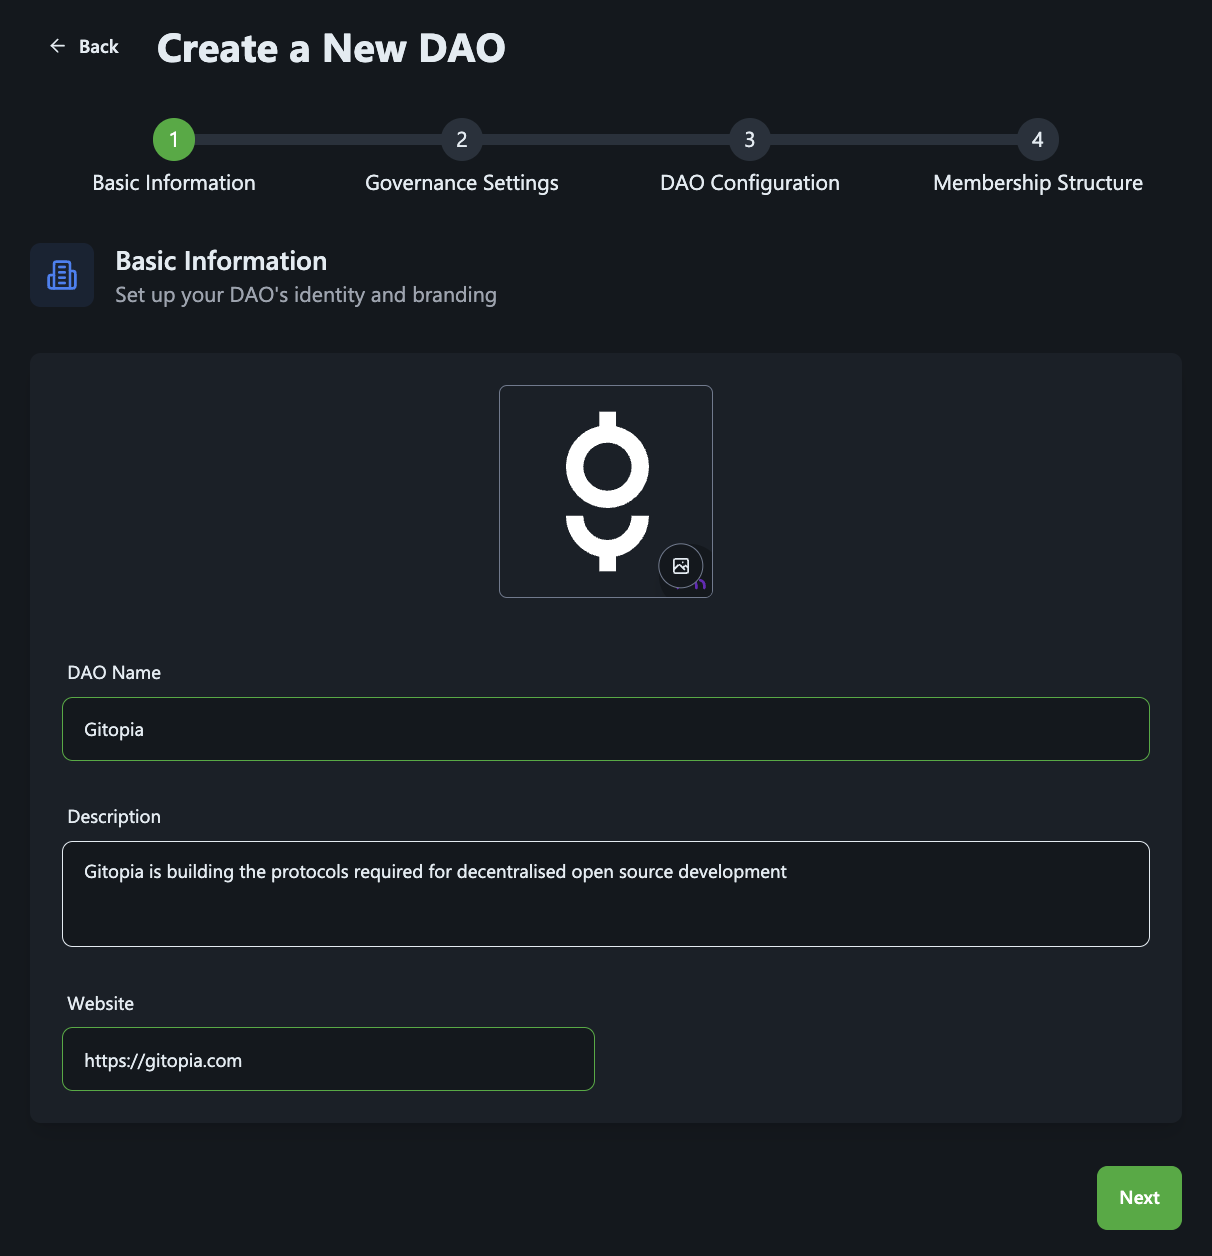
Basic Setup
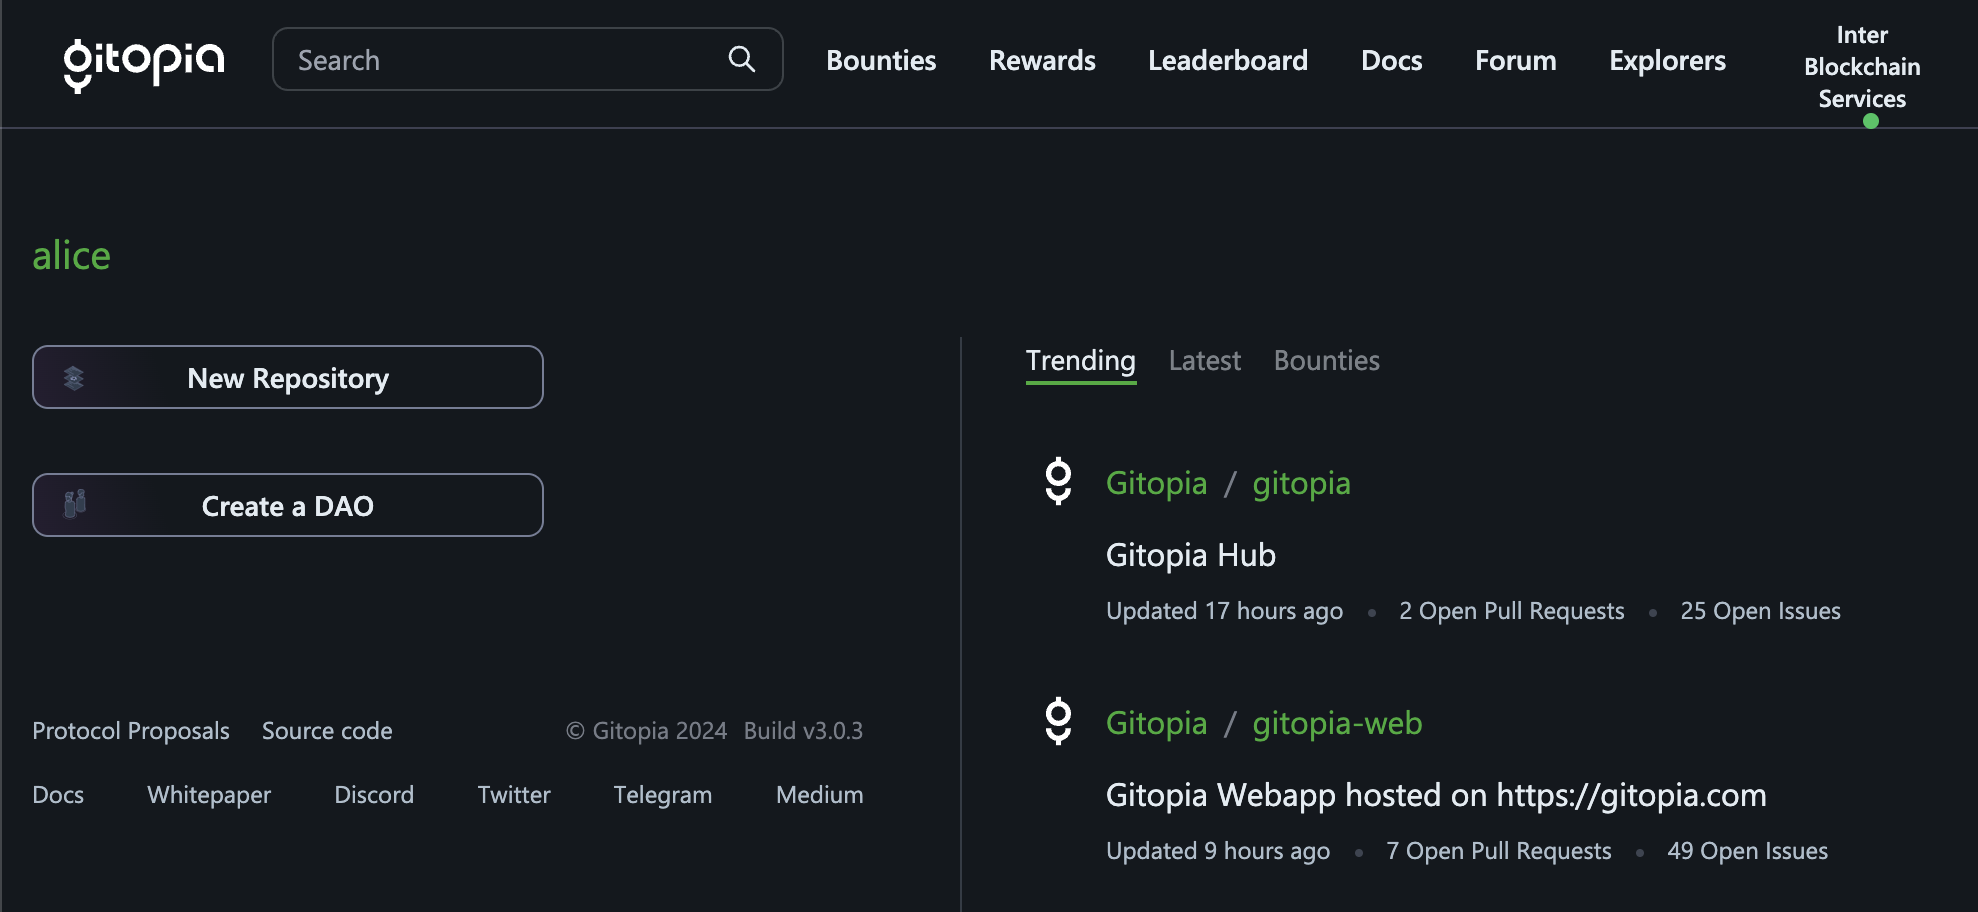
- Go to the Gitopia homepage and click "Create a DAO"
- Enter your DAO's details:
- Name (must be unique across Gitopia)
- Description of your DAO's purpose and goals
- Optional: Website URL
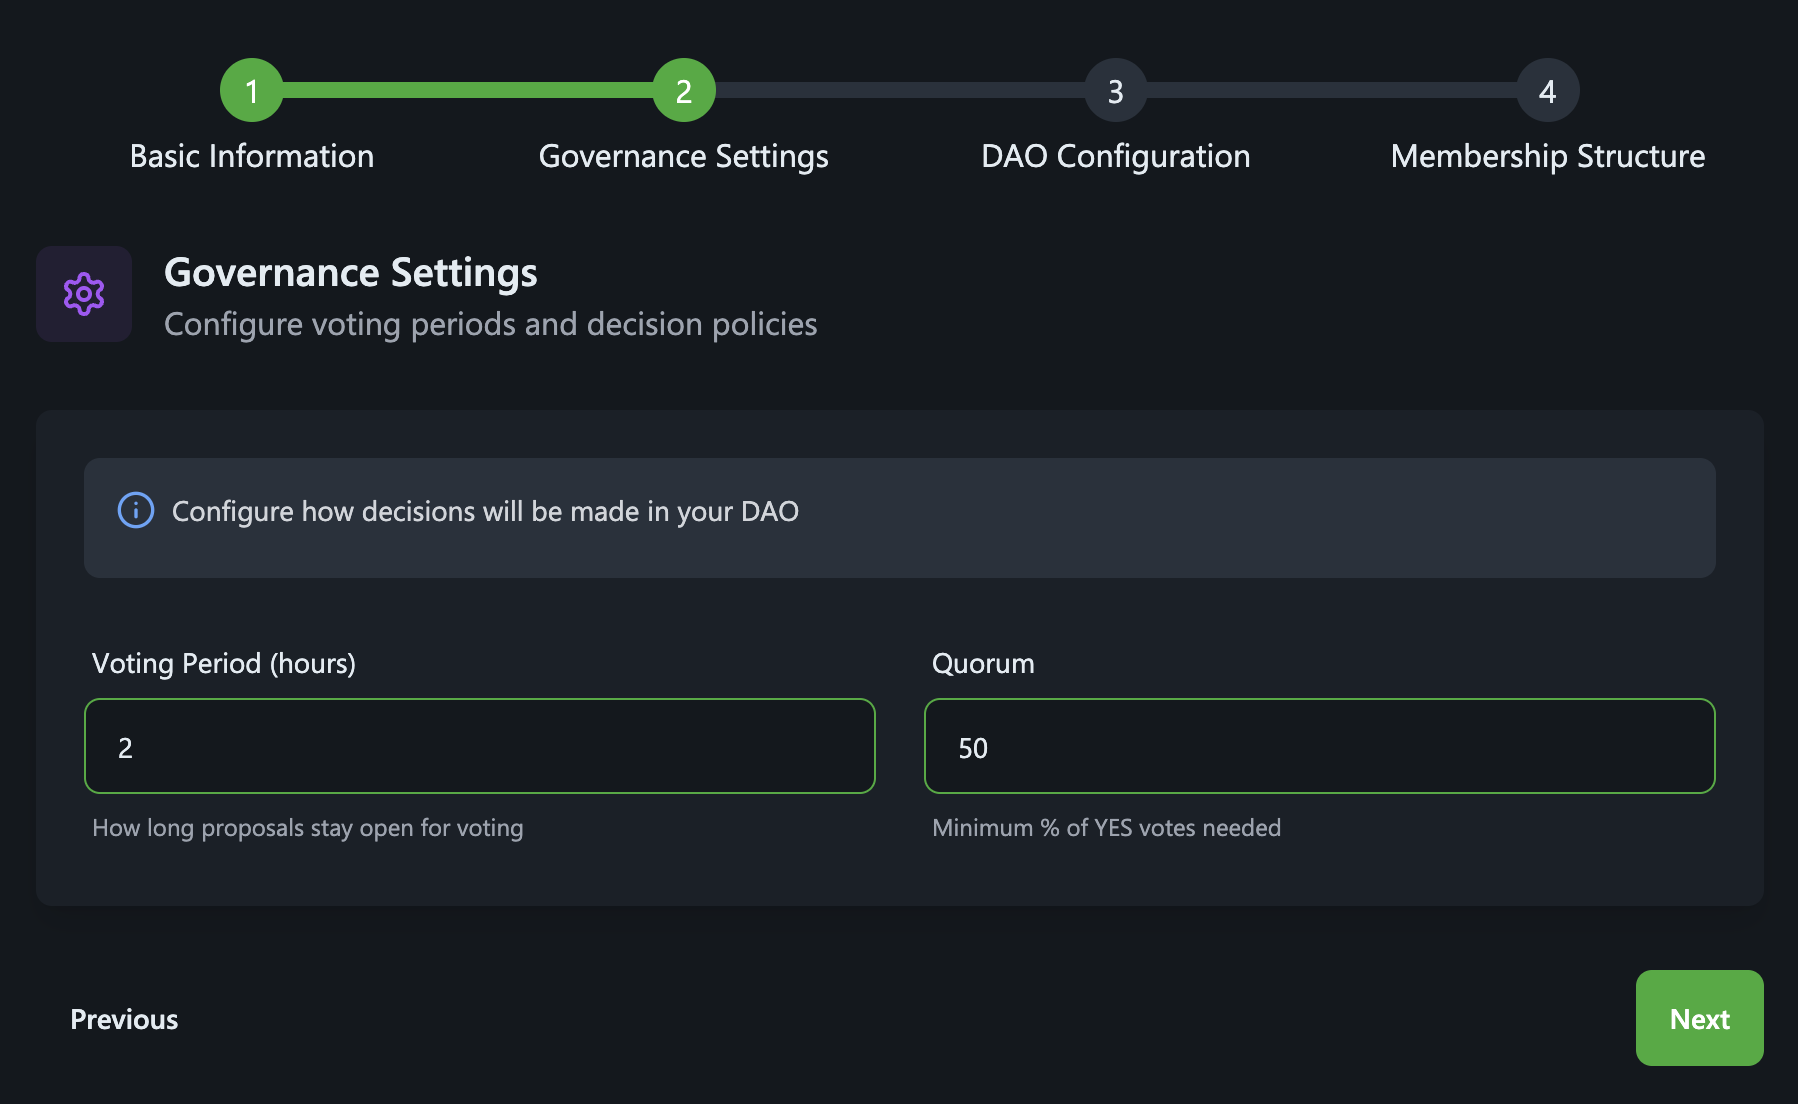
Governance Configuration
Configure how your DAO makes decisions:
Voting Period
- Set how long members have to vote on proposals
- Recommended: 24-48 hours for active teams
- Consider your team's timezone spread
Quorum
- Set the minimum percentage of YES votes required for a proposal to be accepted
- Example: 51% means over half of all possible votes must vote YES
- Recommended: Start with 51% for balanced decision-making
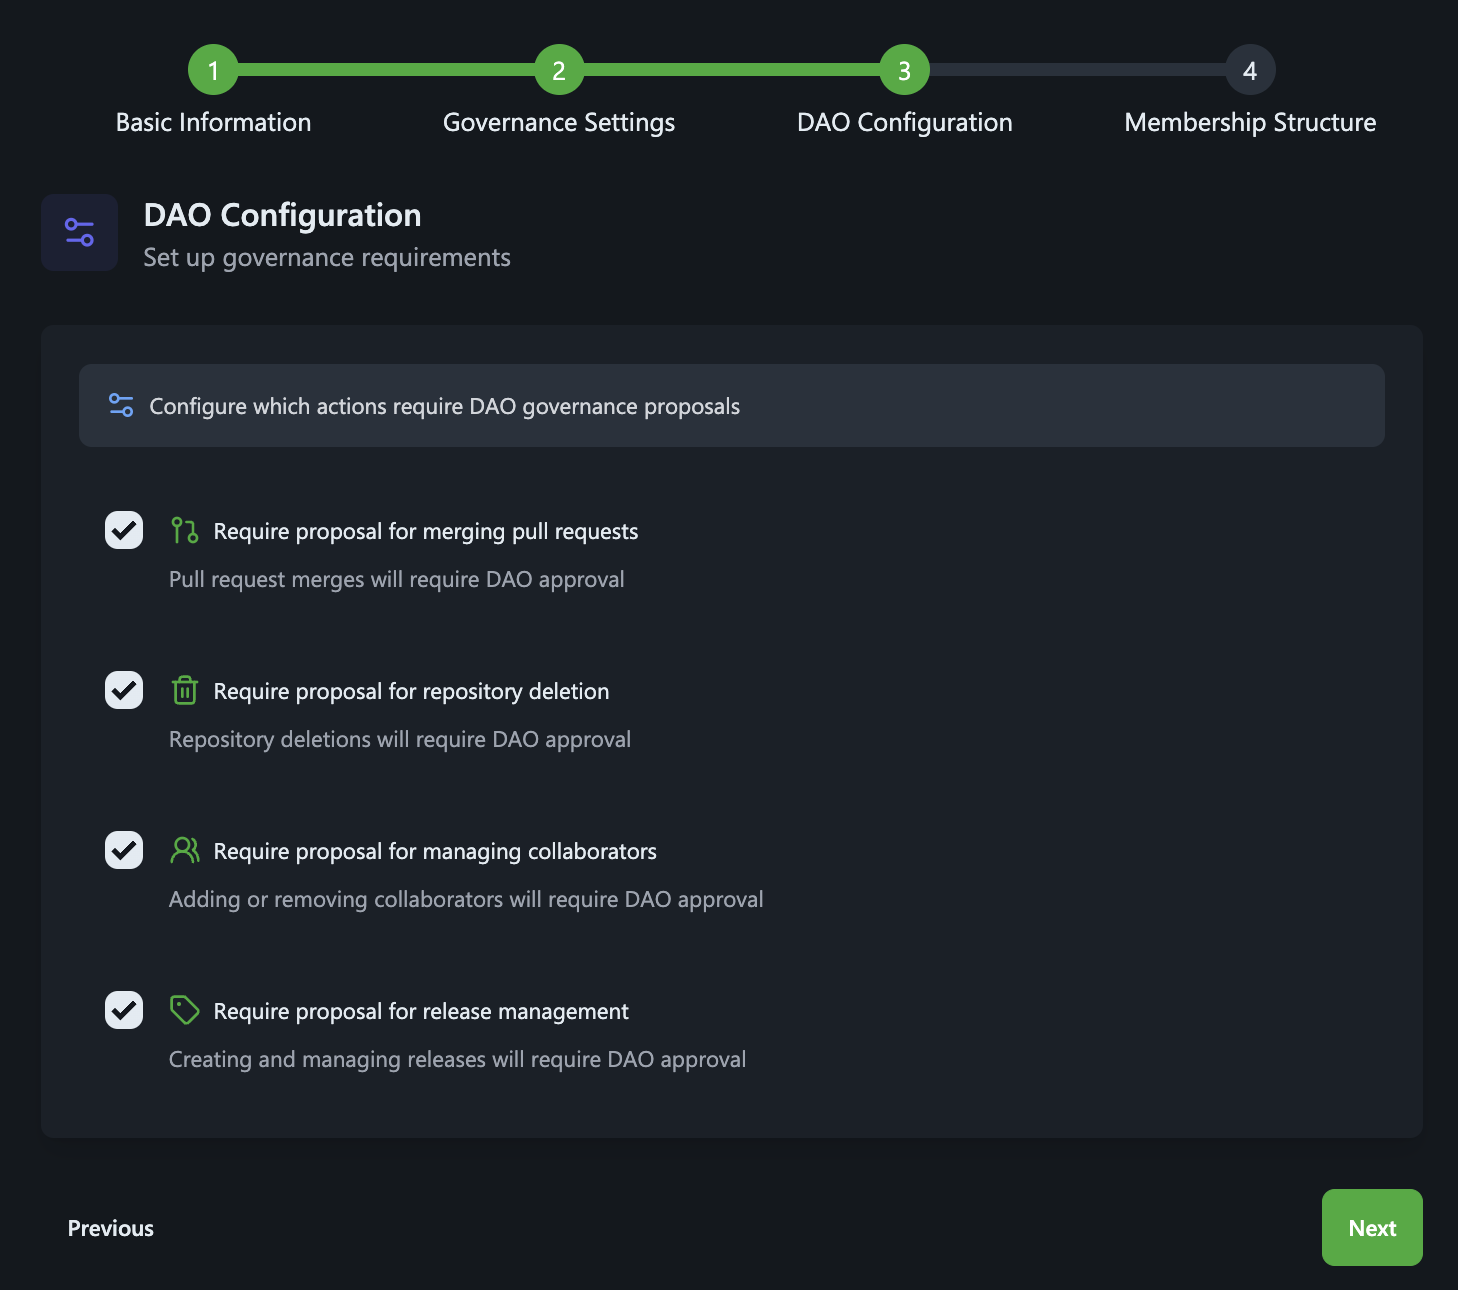
- Security Settings
Choose which actions need DAO approval:
- Merging pull requests
- Creating releases
- Managing collaborators
- Deleting repositories
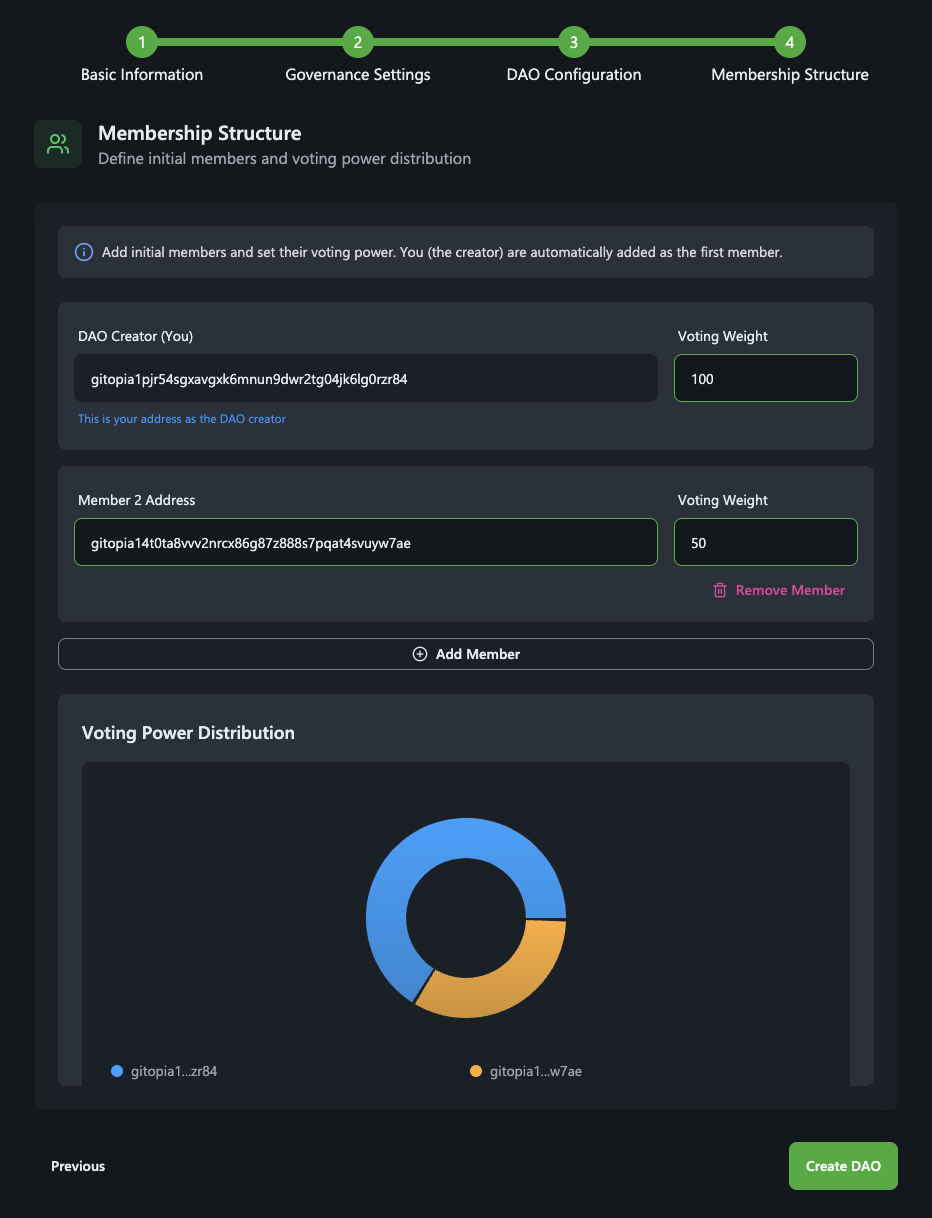
Setting Up Members and Voting Power
Each member gets a voting weight that determines their influence in decisions. Here's a typical structure:
Example Weight Distribution:
- Core Maintainers: 100 weight (project leads)
- Active Contributors: 50 weight (regular contributors)
- Community Members: 10 weight (general participants)
To add members:
- Click "Add Member"
- Enter the member's wallet address
- Assign their voting weight
Understanding Voting Power
If your DAO has:
- 2 Core Maintainers (200 total weight)
- 4 Active Contributors (200 total weight)
- 10 Community Members (100 total weight)
- Total possible votes: 500
With a 51% quorum:
- At least 255 weighted votes must vote YES for a proposal to be accepted
- This could be achieved by:
- 3 Core Maintainers voting, or
- 6 Active Contributors voting, or
- Any combination reaching 255
After Setup
Test Your DAO
- Create a test proposal
- Have members verify their access
- Check that voting works as expected
Document Your Process
- Write clear guidelines for proposals
- Explain how voting works
- Set up communication channels
Need Help?
- Visit our Discord community
- Check out detailed guides on creating proposals
- Review our DAO overview
Updating Your DAO
Most settings can be changed later through DAO proposals, including:
- Voting period
- Quorum requirements
- Member weights
- Security settings