Push Repository to Gitopia
This page is the complete guide to pushing code from your local repository to a remote repository on Gitopia.
Step 1: Creating a New Repository
- You can create a new repository on your personal account or any DAO where you have sufficient permissions. To create a new repository on Gitopia you need to be logged in to your Gitopia Wallet and the wallet should contain a sufficient amount of LORE tokens.
- Once the above conditions have been met, you can create a new repository by clicking on Create a Repository icon on the Home Page. Enter information such as the repository owner, repository name, and repository description. Click Create Repository to create your hosted repository on Gitopia.
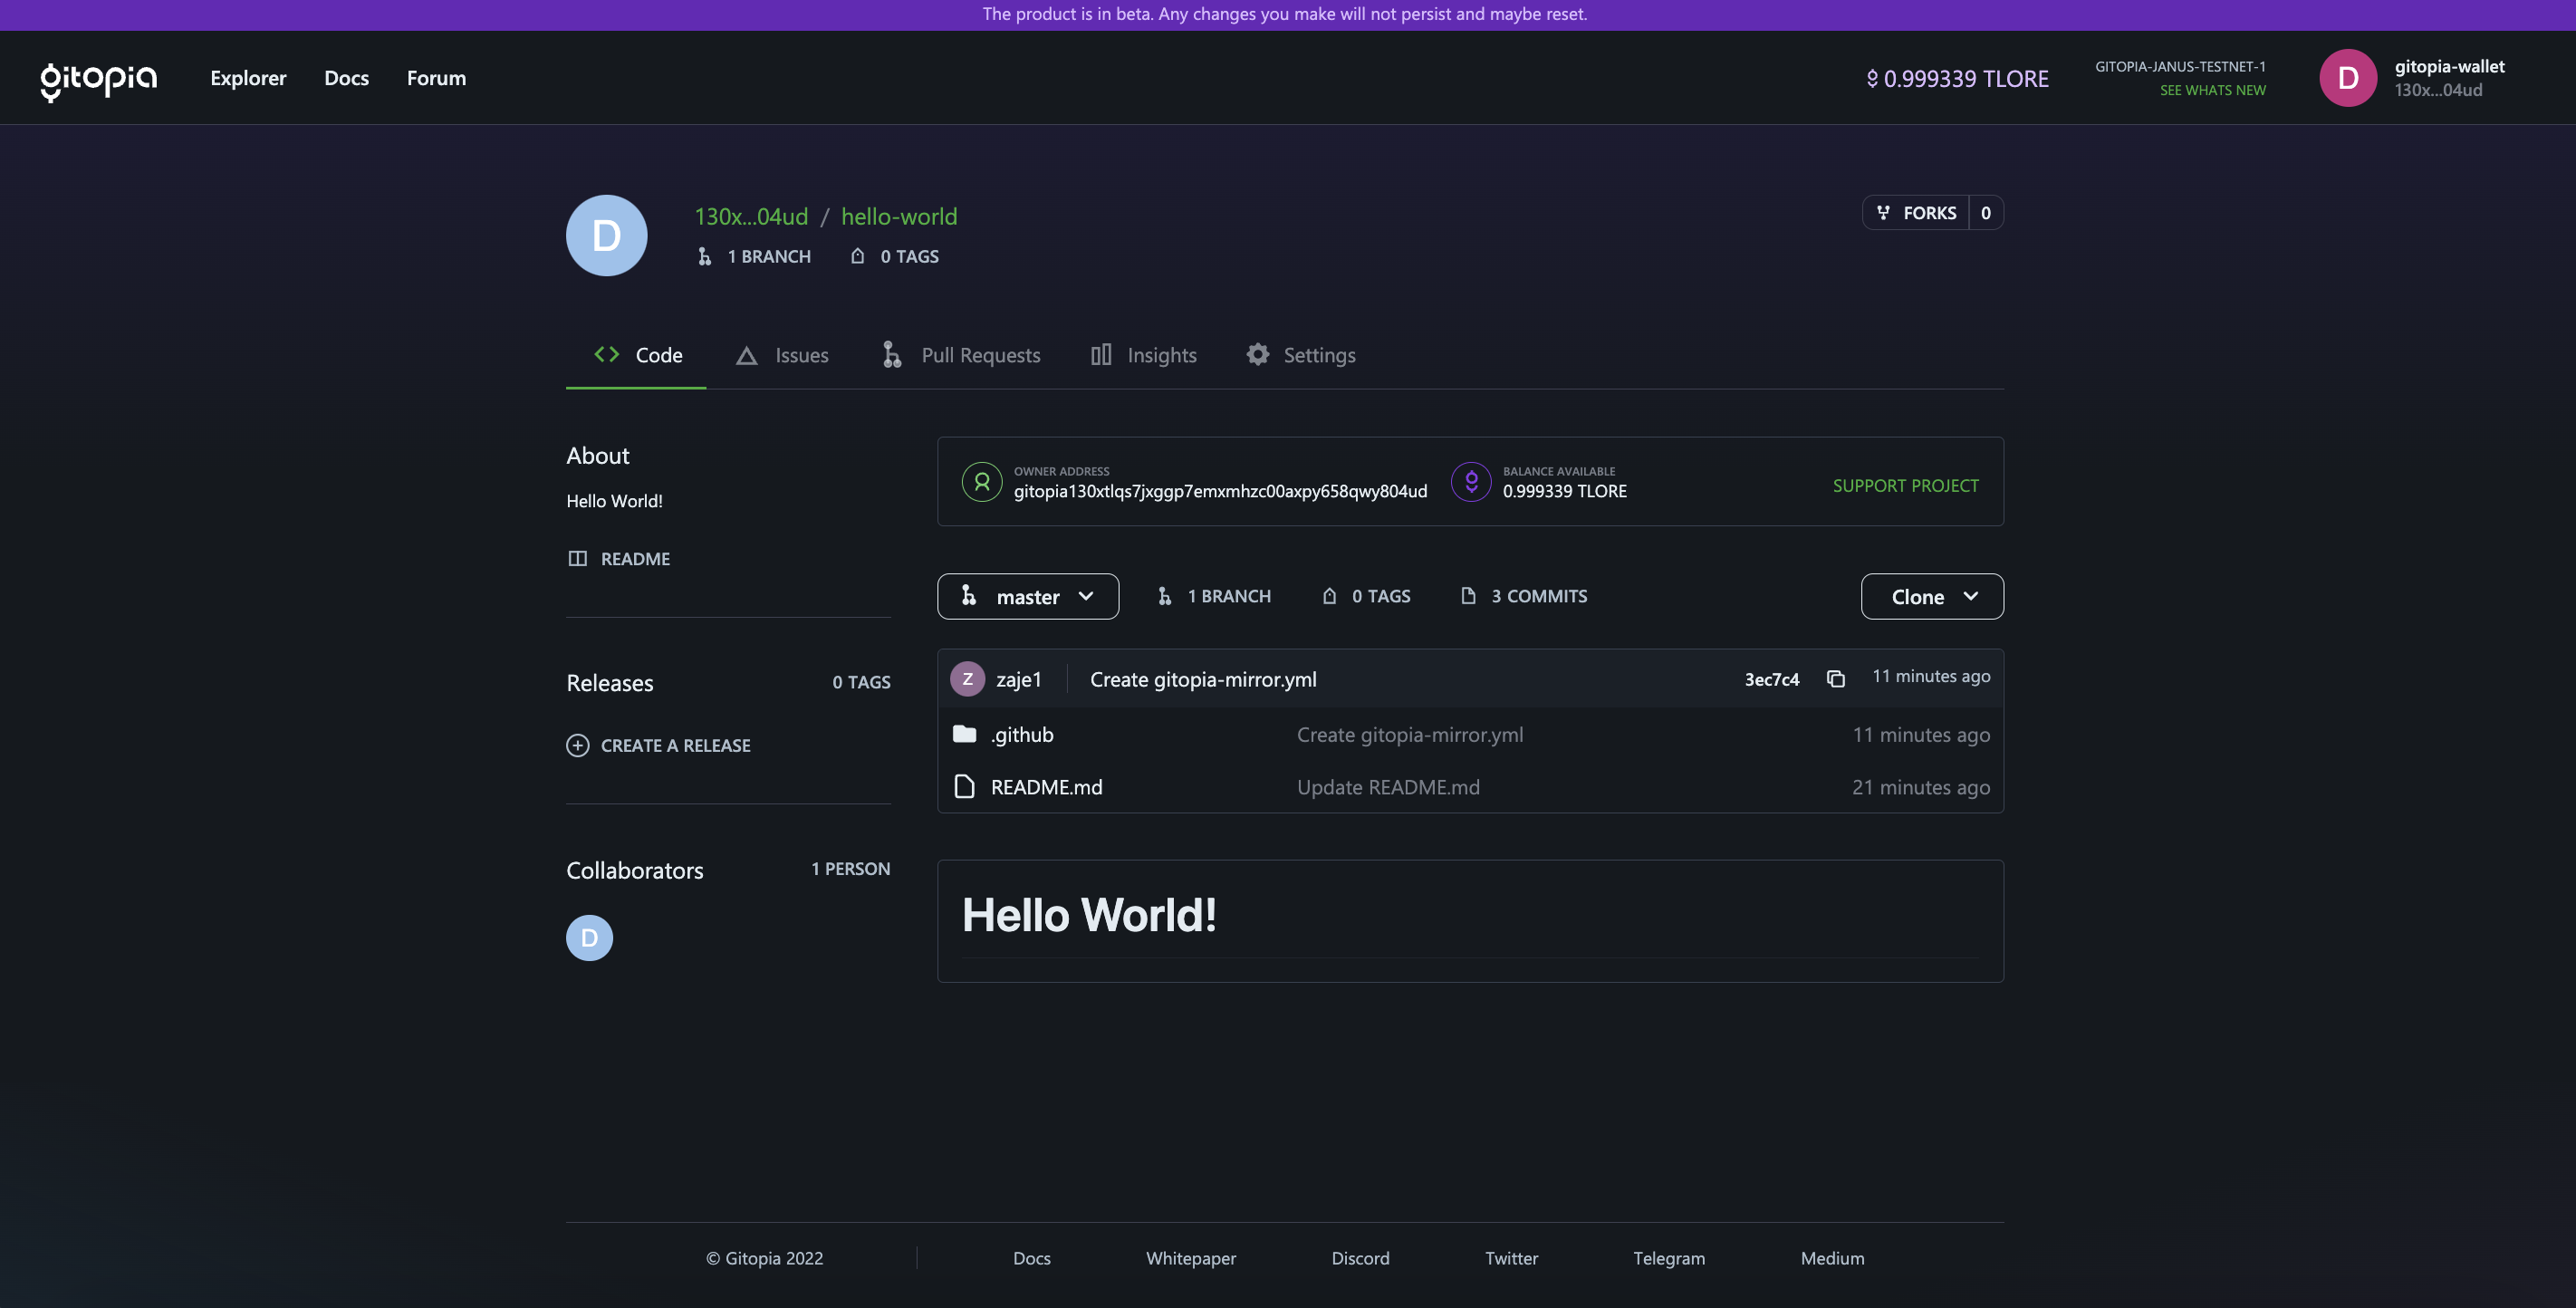
- Your repository will be created and you will be taken to the main page of your repository.
Before you can push code from your local git repository to this remote repository, make sure to install the git-remote-gitopia helper and set up the OS keyring.
Step 2: Installing Git Remote Helper
The git-remote-gitopia helper will allow your git command line to understand the gitopia:// transport. To install the helper, follow the steps in the section here.
Step 3: Setting Up OS Keyring
This method requires you to know your Gitopia wallet's 24-word mnemonic. If you need help finding your wallet's mnemonic Click here.
We recommend that you keep a separate wallet, added as a collaborator, for authorizing wallet and pushing your code. Don't use your main wallet and keep it safe.
The OS keyring is used for storing your Gitopia credentials securely on your local machine. To set up the keyring, follow these steps:
- Open the Terminal on your computer and add your key to the os keyring using the command given below.
git gitopia keys add <YOUR-KEY-NAME> --recover
- On executing the above command, you will be prompted to enter your wallet mnemonic. Type in your wallet's 24-word recovery phrase and press ENTER.
Your output would look similar to this:
❯ git gitopia keys add gitopia-key --recover
> Enter your bip39 mnemonic
music rose owner spy flight belt belt kitchen wrist axis zebra creek trouble they tool length ...

- address: gitopia1fpsu530cf6ysraxwe68hzvql9v4w0v87rg82qv
  name: gitopia-key
  pubkey: '{"@type":"/cosmos.crypto.secp256k1.PubKey","key":"A8aBFL62PsLLGc0bIigsaGB4j+YCOOGetf82ENaQ0OOx"}'
  type: local

Done
- Configure your gitopia key name in git config.
git config --global gitopia.key <YOUR-GITOPIA-KEY-NAME>
For more details check out the dedicated os-keyring section here.
Step 4: Push your Local Repository to Gitopia
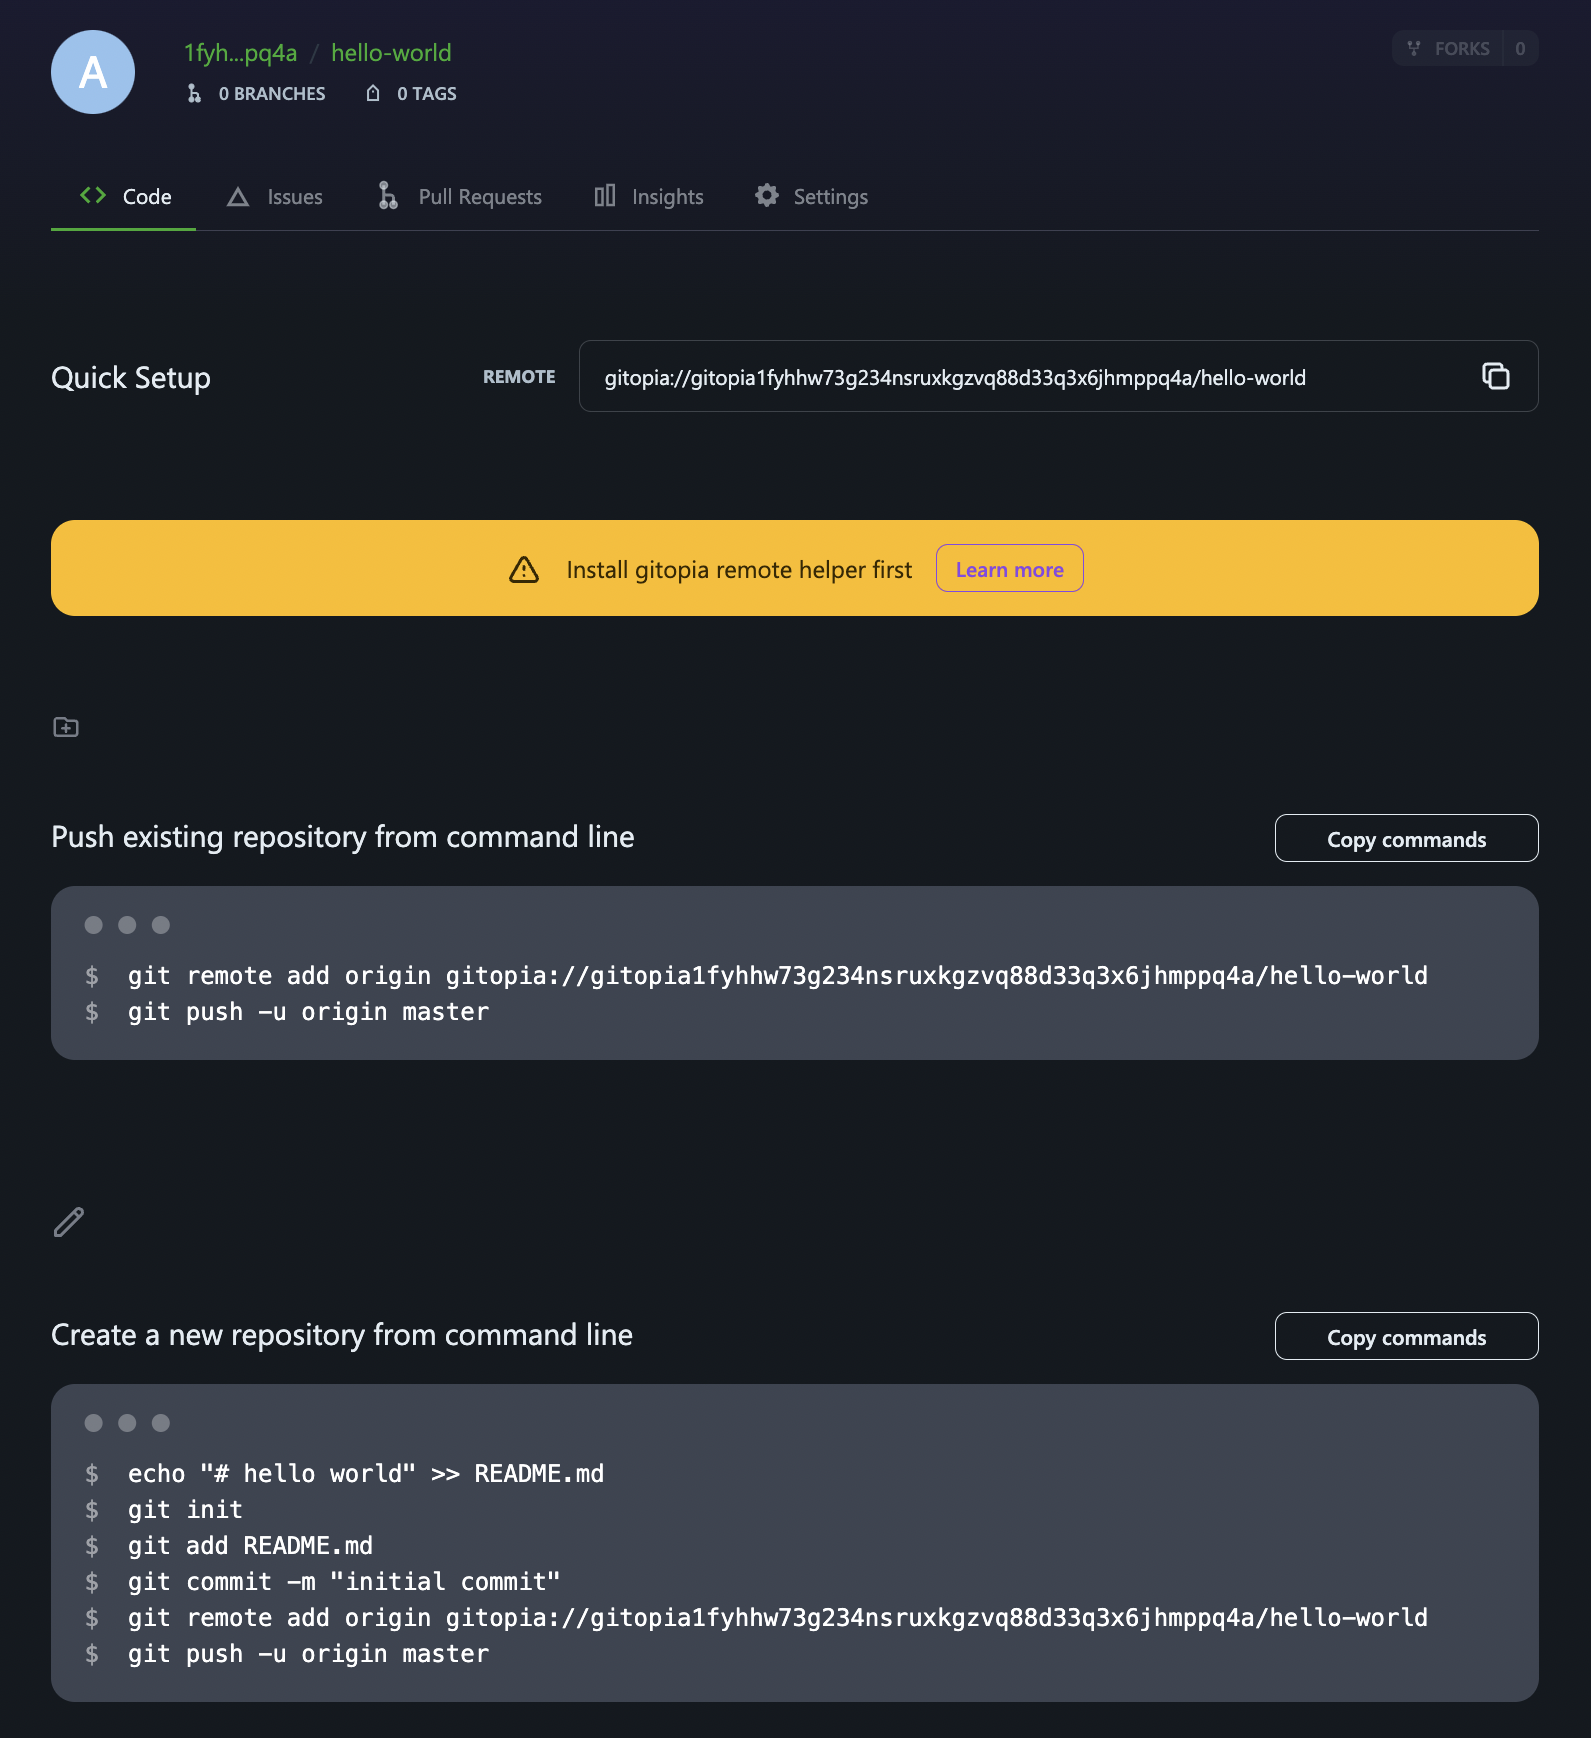
- Once you have set up the OS keyring, you are ready to push your local repository to Gitopia. If you already have a repository, you can just set the remote and then push the repository. If not, create a new git repository by opening the terminal on your computer and creating a new git repository using the below commands:
mkdir hello-world
cd hello-world

echo "# hello world" >> README.md
git init
git add README.md
git commit -m "initial commit"
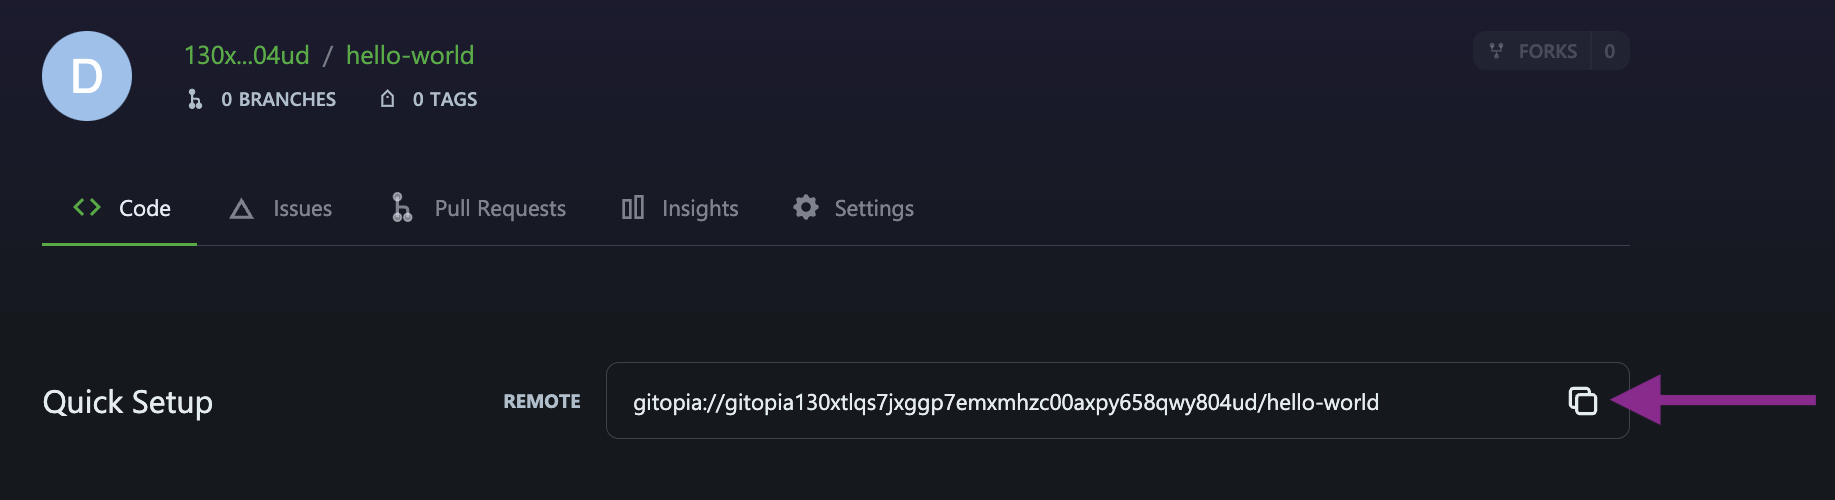
- Next, set up a remote with the address of your newly created Gitopia repository.
git remote add origin gitopia://Alice/hello-world
Copy the remote URL from the repository page, as suggested in the image below.
- Push your code to Gitopia.
git push origin master
- Your code will be pushed to Gitopia and you will be able to see it on the Gitopia platform.